Office365
How to enable email forwarding to a colleague via Office 365 self-service portal.
- Office365 How To Forward using OWA Outlook O365
- Multi-Factor Authentication Setup User Guide
- How to sync a SharePoint Online document library to a local machine
- Sign into Onedrive
- Sharing a SharePoint Folder with an external person.
- Testing login credentials for Microsoft Accounts
- Opening and Logging into Office Apps (desktop)
Office365 How To Forward using OWA Outlook O365
Log into office.com using your email and password.
Open Outlook on the left:

Click the Cog symbol in the top right and select Settings:

On the left click Forwarding and set up the forward.
Check keep a copy if you wish to receive a copy and forward the email.

Multi-Factor Authentication Setup User Guide
To enable MFA you need a mobile device with a camera that is capable of installing an application (i.e a smart phone or tablet). This will be used to authenticate you when logging in so it must be a device you regularly have access to.

Log in using your 365 account details. This will be your primary work email and password.

You will then be prompted to set up your Multi-Factor sign in method, click next.

You will then be prompted to then download the Microsoft Authenticator App on your mobile device.

Follow the prompt within the app to add an account, or if you already have the app click the 3 dots in the top right and choose add account then work or school.
You will then be prompted to scan the QR code shown on your screen with your mobile device's camera. Click next.

Now a notification on your mobile device will ask you to approve the sign in, click approve when the prompt appears on your mobile device.

Then back in the web browser click next.


You have now set up Multi-Factor Authentication for your account. This will prompt you any time a new login is detected for your account.
How to sync a SharePoint Online document library to a local machine
This article will detail how to make shared files in SharePoint available in file explorer.
Before you start
The requirements for this process to work are
- Access to office.com using 365 email and password credentials.
- Access to the required SharePoint site already via the office.com portal.
- OneDrive client installed on the local machine and signed in already.
1. Browse to the sharepoint site required in a web browser.
An example URL could be https://yourcompany.sharepoint.com/sites/accounts
OR
Access via the Office 365 portal > https://office.com > Sharepoint > Select the Sharepoint site.
2. Once at the site head to documents and then choose sync.


3. This will produce a prompt for you to allow this site to sync using the locally installed onedrive client.
Choose Open Microsoft OneDrive.


4, Open file explorer to confirm data is synced.
The newly synchronized site data will be available under the SharePoint icon, a blue office icon.

Repeat this step with other SharePoint sites for any additional data required.
Sign into Onedrive
Open the OneDrive App, it should be a blue (or gray if not signed in) cloud in the bottom right of your task bar.
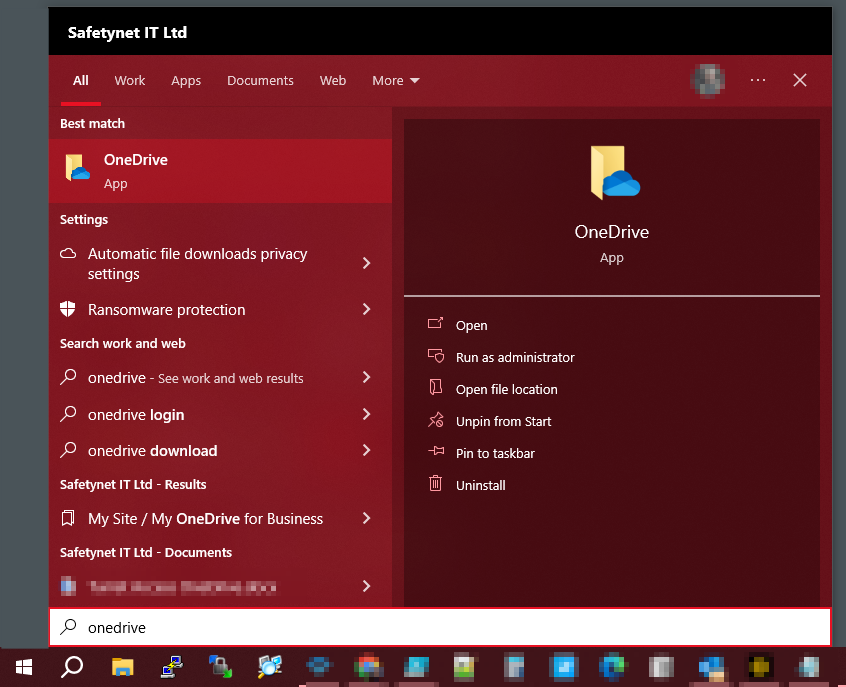
If you do not see it please search for it in the start menu, else if you need to install it as it is not there please do so at https://www.microsoft.com/en-gb/microsoft-365/onedrive/download
You will then be asked to sign in, this is your work email and password. And if asked please choose "work or school" not personal.
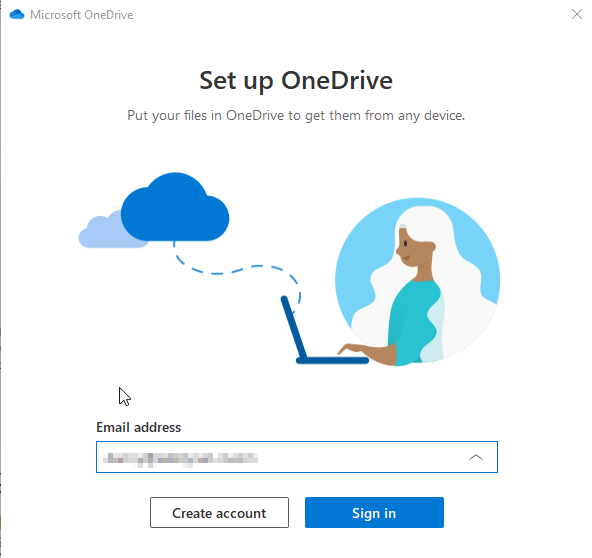
Then just hit next or done until the prompts have all disappeared.
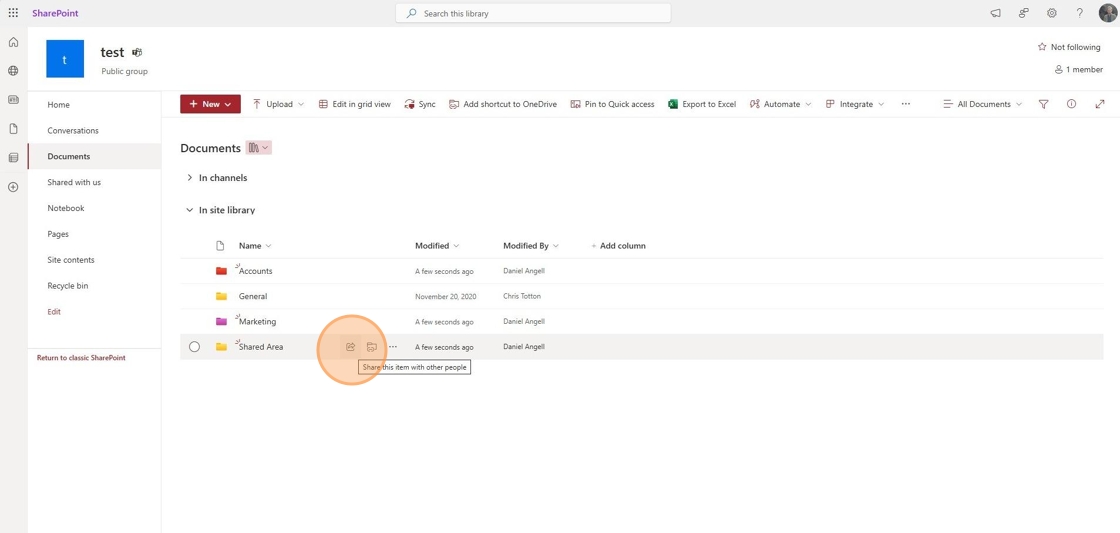
Sharing a SharePoint Folder with an external person.
This guide explains how to share a SharePoint folder with an external person using email initiation. The recipient will log in using a one-time code.
1. Locate the Folder and Initiate Sharing
📌 Note: The external person will only have access to this folder and its subfolders.
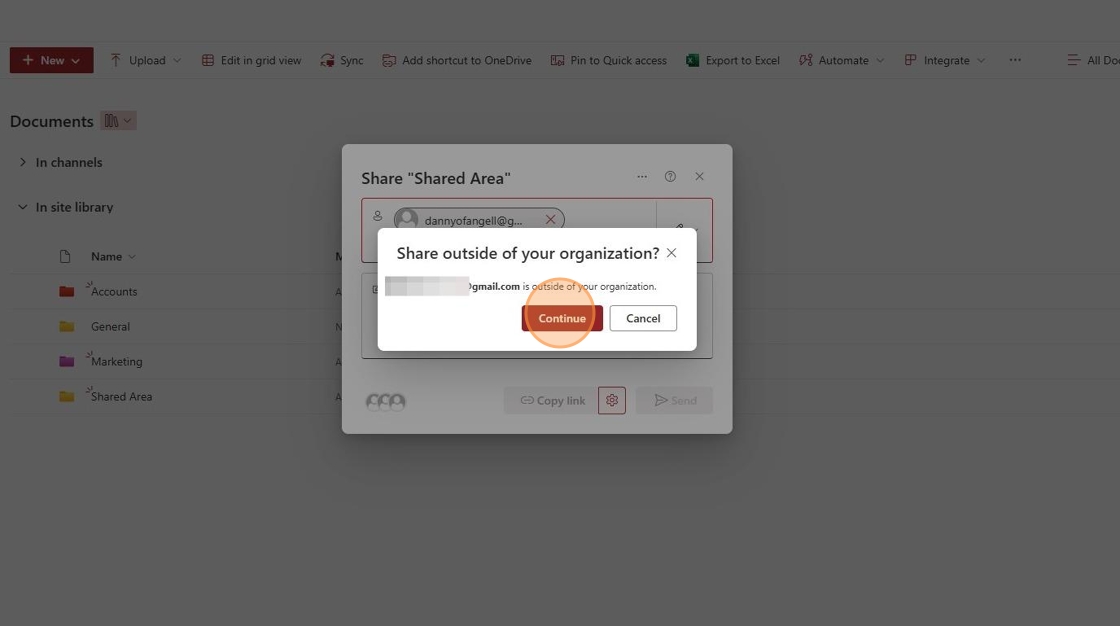
2. Enter the External Person’s Email Address
- Type in the email address of the external person(s) you wish to invite.

3. Confirm the Invitation
- You will receive a warning prompt to confirm the invitation for the external person.
📌 Note: Some organizations have policies that restrict external sharing. If you encounter issues, raise a ticket at support@safetynet-it.com.
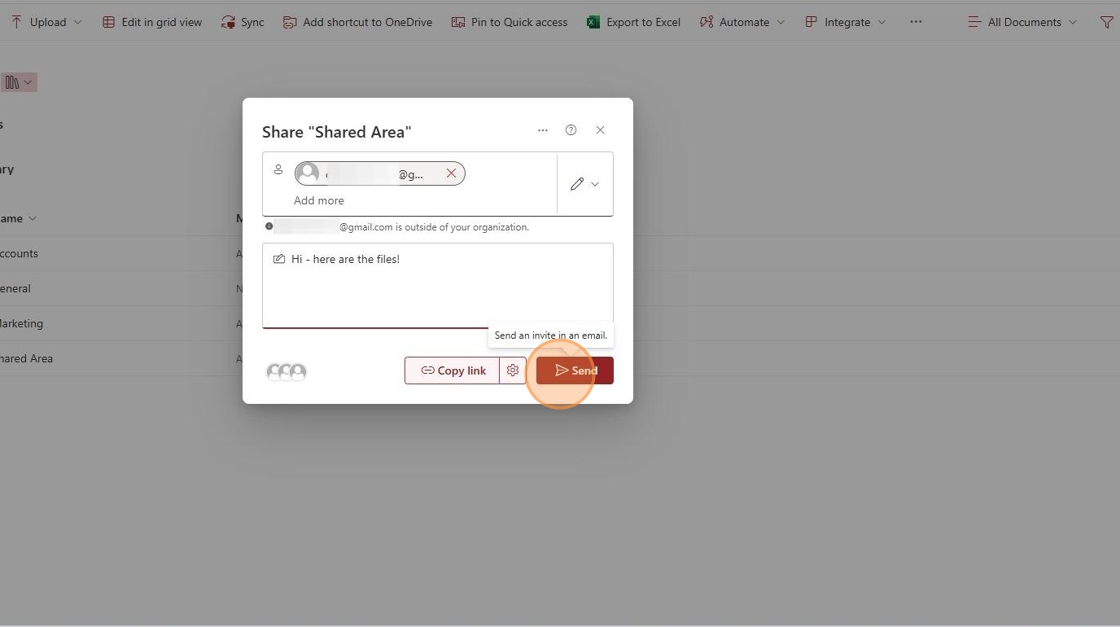
4. Set Sharing Permissions
-
Click the ✎ to adjust permissions:
- Can Edit: Allows the person to read and modify files.
- Can View: Allows viewing and downloading files.
- Can't Download: Allows viewing but prevents downloading copies.

5. Send the Invitation
- You can write an optional message before sending the invitation.
- Choose Send an email to notify the person or Copy a link to share manually.
6. Recipient Receives the Invitation
- The external person will receive an email with a link to access the shared folder.
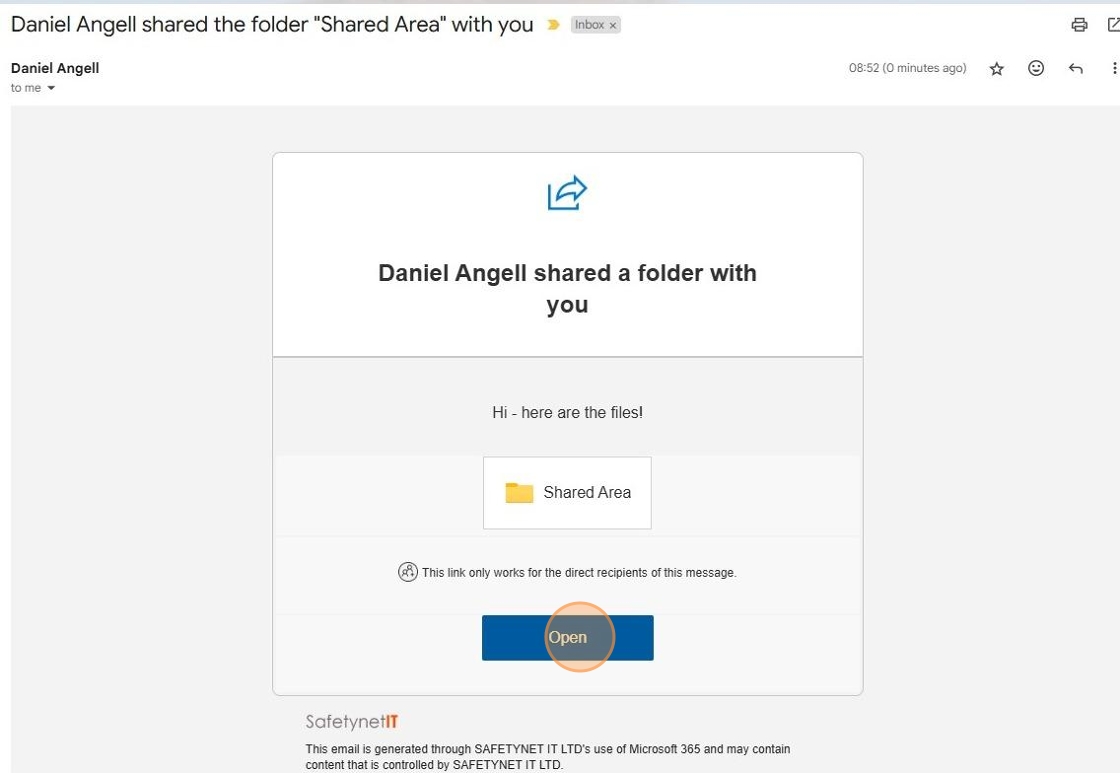
7. One-Time Code Authentication
- The recipient will be prompted to request a one-time code sent to their email.

8. Enter the Verification Code
- They will receive a code via email.
- They must enter the code into the prompt in their browser.

9. Access Granted
- Once verified, they can access the folder.
- They can revisit the link anytime to access the shared files.

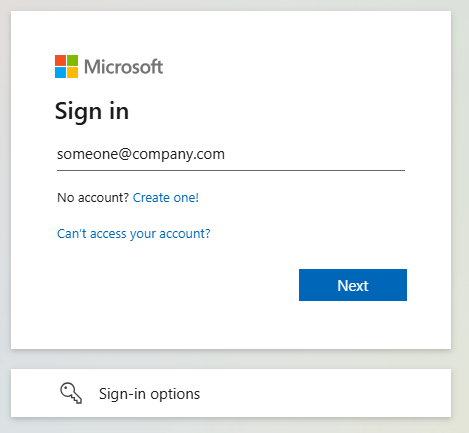
Testing login credentials for Microsoft Accounts
Microsoft accounts are a single identity used to authenticate to many different services, such as the Microsoft 365 portal, Teams, Office apps, Email, Computer logins etc...
Confirming credentials
This will:
- Confirm username/password combination is correct.
- Confirm Multi Factor Authentication methods are working.
Process
Browse to the Microsoft 365 user portal
Log in with your username and password combination, this will be formatted as an email address and password.
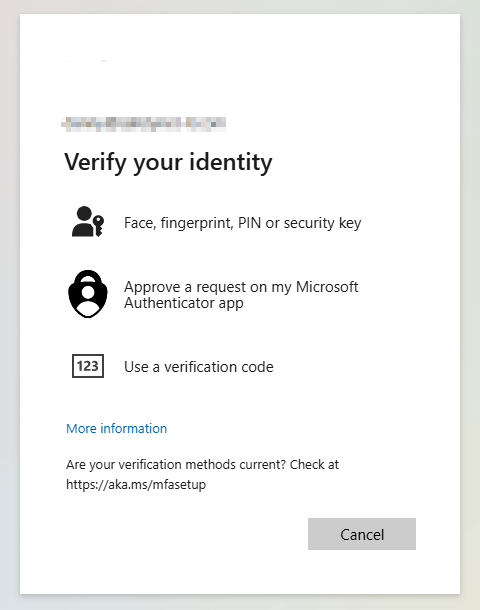
Pass any Multi-Factor Authentication prompts that appear.
You should now be successfully signed into your Microsoft account in the Microsoft 365 Portal.
If you cannot log in
- Are not sure of your username or password
- Could not pass Multi-Factor Authentication
Please raise a ticket to us via our help desk:
- support@safetynet-it.com
- +44 333 305 8224
Opening and Logging into Office Apps (desktop)
Microsoft 365 includes several desktop apps if you have the correct licence, which means your company Microsoft account gives you access to apps like Outlook, Word, Excel, and Teams.
🔍 Step 1 — Open the App

🔑 Step 2 — Sign In with Your Company Account
When the app opens for the first time, you’ll be asked to sign in.
-
Enter your company email address (for example:
firstname.lastname@companyname.com) -
Click Next or Connect.
-
Enter your password when prompted.
-
If you’re asked for Multi-Factor Authentication (MFA), follow the instructions on your phone.
-
Once complete, the app will open and you’re signed in.
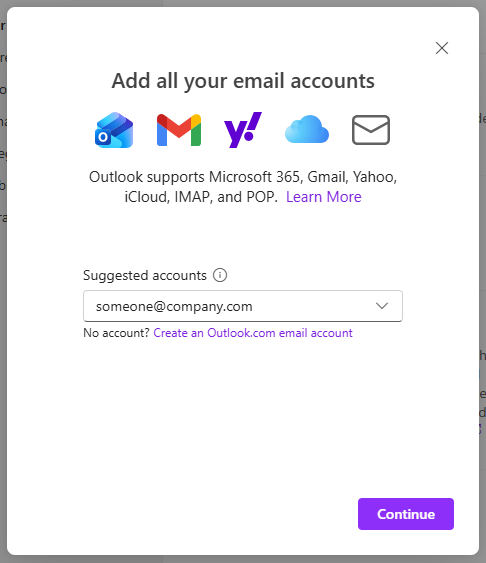
Example: Outlook Sign-in page