Wildix
Guides and Tips on how to use the Wildix x-Bees and Collaboration communication systems.
- Change handset identity using a feature code.
- Invitation to x-Bees + Logging in for the first time.
- Wildix User Guide Links
- x-Bees: User Guide
- WorkForce 5 User Guide
- Wildix Collaboration Screenshots
- x-Bees Disable Manage email notifications
Change handset identity using a feature code.
You can quickly switch the logged-in identity of your Wildix handset using a feature code, useful for hot-desking or changing workstations.
Instructions
On any Wildix handset:
-
Dial
*99. -
When prompted, enter your extension number (e.g.,
1000), then press#. -
Enter the first five characters of your PBX password using the alphanumeric keypad (e.g., "password" would be
72779). -
You'll be asked to confirm logging out from the previous identity:
-
Press
1to confirm and continue. -
Press
0to cancel.
-
-
Once confirmed, the handset display will immediately show your chosen extension successfully logged in.
Example
If your extension is 1050 and your PBX password is "Fortune":
-
Dial
*99 -
Enter
1050, then press# -
Dial
36788(corresponding to "Fortu") -
Press
1to confirm
The handset will now display identity 1050 as logged in.
Important Notes
-
Your identity refers to your internal extension number (e.g.,
1234). -
Your PBX password is the same one used to access Collaboration or x-Bees. If you're unsure of your PBX password, please contact us, and we'll provide it.
-
You may not be aware of it if your company uses Single Sign-On (SSO) - Contact the help desk on support@safetynet-it.com or 0333 305 8224.
-
Invitation to x-Bees + Logging in for the first time.
This guide provides a step-by-step walkthrough for successfully logging into x-Bees for the first time.
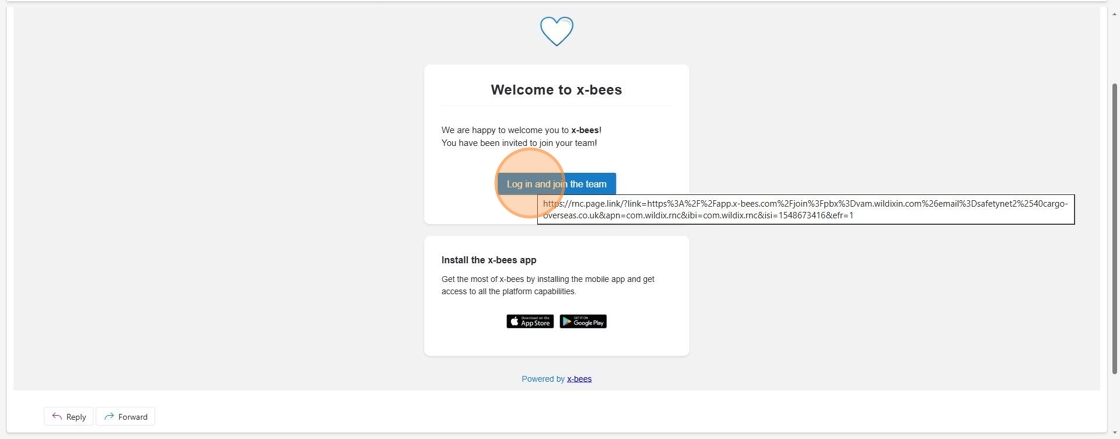
1. When you receive your welcome email, you will be asked to log in for the first time.
There are also handy links to download the x-Bees iOS or Android App.
💡 You can always access the x-Bees web app via https://app.x-bees.com.
Click Log in and join the team.
2. You will then be redirected to the login page in your browser, in this example we are using email to sign in.
You may be configured to use Single-Sign On (SSO) via Google or Microsoft, if not instructed to click Sign in with email.

3. Confirm your email is correct and press Next.

4. You will then be prompted to enter a one-time code sent by email.
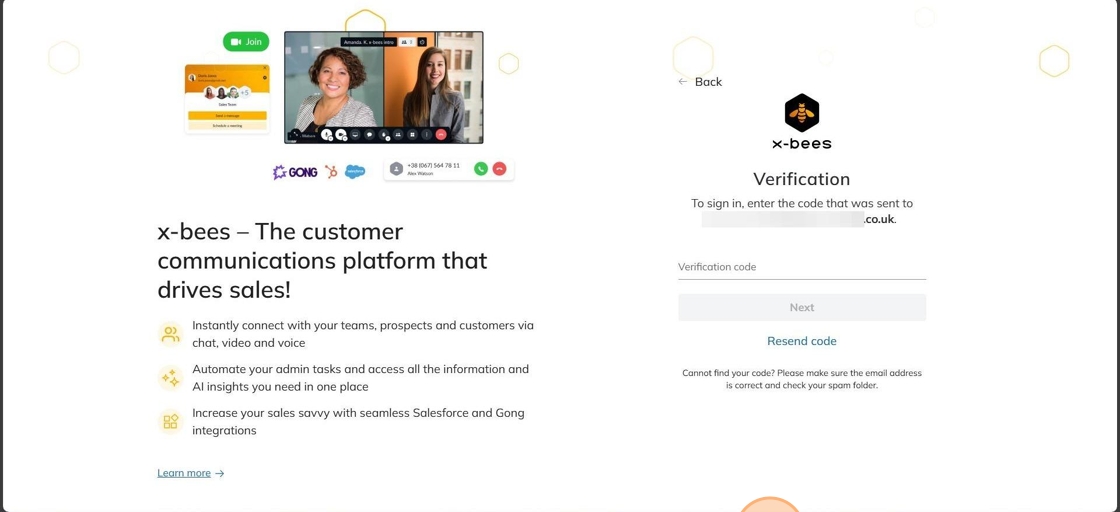
5. You will receive an email with the one-time code within.

6. Paste or type this code into the prompt in your web-browser and click Next.
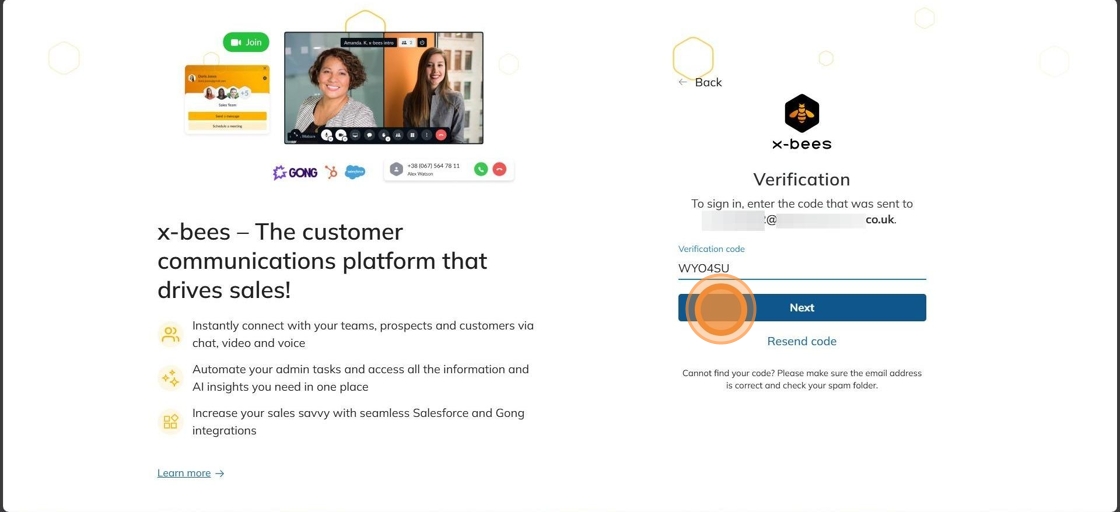
7. You will now be successfully logged into x-Bees!
Wildix User Guide Links
Permalink to Wildix x-Bees user guide: https://wildix.atlassian.net/wiki/x/ngrOAQ
Making a call in x-Bees: https://wildix.atlassian.net/wiki/spaces/DOC/pages/30280350/x-bees+Web+User+Guide#x-beesWebUserGuide-StartacallfromDialpad
x-Bees: User Guide
Accessing x-Bees
Quick link to access x-Bees: https://app.x-bees.com
Introduction
x-bees is the customer management communication solution you need for managing leads, improving customer service and increasing sales.
x–bees focuses on:
- Real–time customer communications
- Sales enablement
- Customer retention and satisfaction
Prerequisites
Supported browser
- Chrome
Mobile apps
- Android 9 or higher
- iOS 13.3 or higher
Chrome extension
- Install extension from here: https://chrome.google.com/webstore/detail/x-bees/olejekejjhgimnlliplaiodgmbpcflhi
Notes:
- Access to the web version and mobile apps of x-bees is available starting from the x-bees-Basic license
x-bees native application:
- EXE file for Windows 10, 11:
- MSI file for Windows 10, 11:
- For MacOS:
Login
Users of the PBX receive an invitation via email with the link to join x-bees and download mobile apps. The invitation email should be sent by the PBX admin from WMS. Or login directly at https://app.x-bees.com
Follow the steps:
- Click on the link in the email invitation to join x-bees

- Log in using Google or Microsoft SSO or with email

PBX users who joined x-bees via email invitation sent by the system administrator are automatically connected to the correct Wildix PBX. To make sure you are connected to the Wildix PBX, follow the steps below:
- Click on your user picture from the upper left-hand part of the screen
- Under Settings, click Connect to Wildix PBX

- Make sure the Wildix PBX domain name is entered into the field Domain

Note: if you are not sure, what your Wildix PBX domain is, please check with your system administrator.
Making & Taking Calls
Select an active device for calls
You can make and receive calls directly from x-bees or control other devices registered to your account, including hardware phones (WP, W-AIR), W-AIR Headsets, smartphone apps (iOS / Android) and mobility extension (mobile phone). The first available device is displayed to a user upon the first login.
To select the active device for making and receiving calls:
- Click the Dialpad icon from the top menu
- To the left of the green Call button, click This device
- Select the preferred option from the list (e.g. Android x-bees, iOS x-bees, Any device, etc.)

Outgoing and incoming calls are received on the selected device, until another device is chosen.
Start a call from Dialpad
You can start an internal or an external call from the Dialpad:
- Click the Dialpad icon from the top menu
- Type a name of a user, a phonebook contact, a Salesforce/ HubSpot lead or contact, or just enter a phone number into the field
- In case a contact has more than one number, click on the arrow next to the match, to view the available options
- Click on the green Call icon from the Dialpad to start a call

Selecting Caller ID for outbound calls
If you need to make an external call, but don’t want to show your office phone number, you can select the phone number of the relevant service (e.g. tech support, sales, accounting, etc.) before placing a call:
- Open the Dialpad
- Click on the drop-down list at the top
-
Select the service (Call group) and make a call

-
The call is performed using CID for outbound calls of the selected Call group (By default, the option “Personal” is displayed)
Handling & Transferring Calls
Manage calls
In case you have more than one active call, you can see them all from Active conversations and switch between them.
Switch active device: all active calls can be seen and managed both from the web version and from the mobile app. If you started a call on the mobile app, you can continue it on the web version of x-bees (and vice-versa):
From the Active call screen, the following options are available:
-
Send DMTF
Note: If you paste number into the the DTMF area, all unsupported characters are automatically cut out.
- Mute/ unmute, manage Audio settings


- Hold/ resume
- End a call
- Transfer a call: click on transfer call icon at the bottom of the call screen

The dedicated Transfer dialog appears, where you can transfer the call to another user or send it to your voicemail:
Start entering number, user name or extension and click the arrow icon next to the necessary user from the search results below: Select the option:
- Voicemail
- Attended Transfer
-
Transfer (blind transfer)

Note: When you click on the user from the search result, attended / semi-attended transfer is started by default.
When you perform an attended / semi-attended transfer, a separate call dialog opens. To proceed with the transfer, click the green Transfer to button:
Creating Contacts
In case you enter a phone number in the Dialpan and there is no contact found, you have an option to create a contact:
- Click Create contact button:

- Select which integration to save the contact to

- Fill out contact details and click Create

Using Existing Contacts in The Address Book
Call from Search
You can call existing or new contacts directly from the Search field.
1. Insert or start typing a number/ email/ name into the Search field
2. Click the Phone icon to initiate the call

If an existing contact has several numbers, click Arrow down icon (1) and select a preferred option (2):

Choosing between the call option and video conference
If you need telephony features, such as:
- Transfer a call
- Put a call on hold
- Send DTMF
Then opt for the SIP call option. You can start a call from the Dialpad or from one-on-one conversations with colleagues.
If you need screen sharing, opt for the Video conference option from one-on-one or group conversations.
For a full guide please see the official x-Bees documentation at https://wildix.atlassian.net/wiki/x/ngrOAQ or contact us on support@safetynet-it.com
WorkForce 5 User Guide
Please see attached PDF for the end user guide to the Workforce 5 Handset.
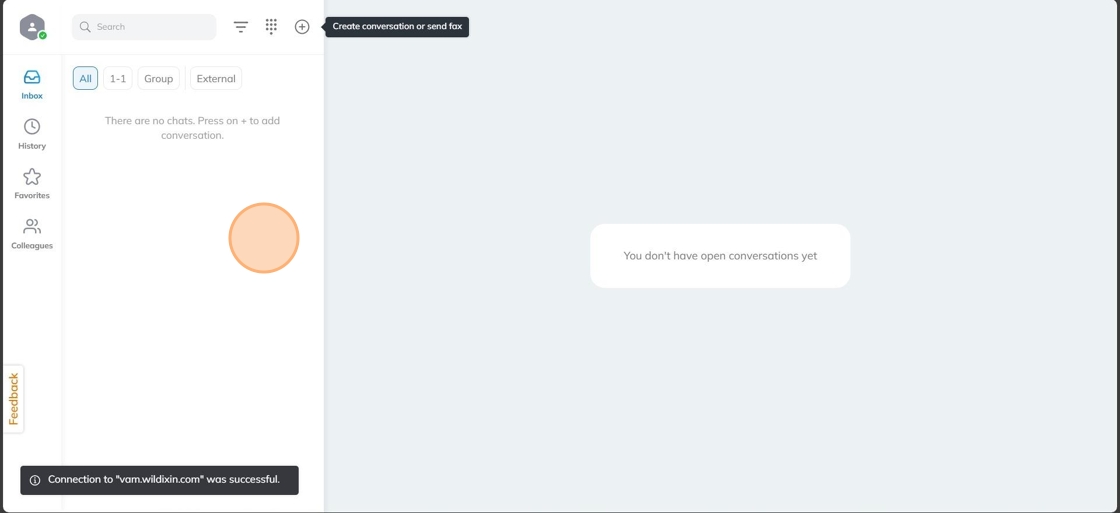
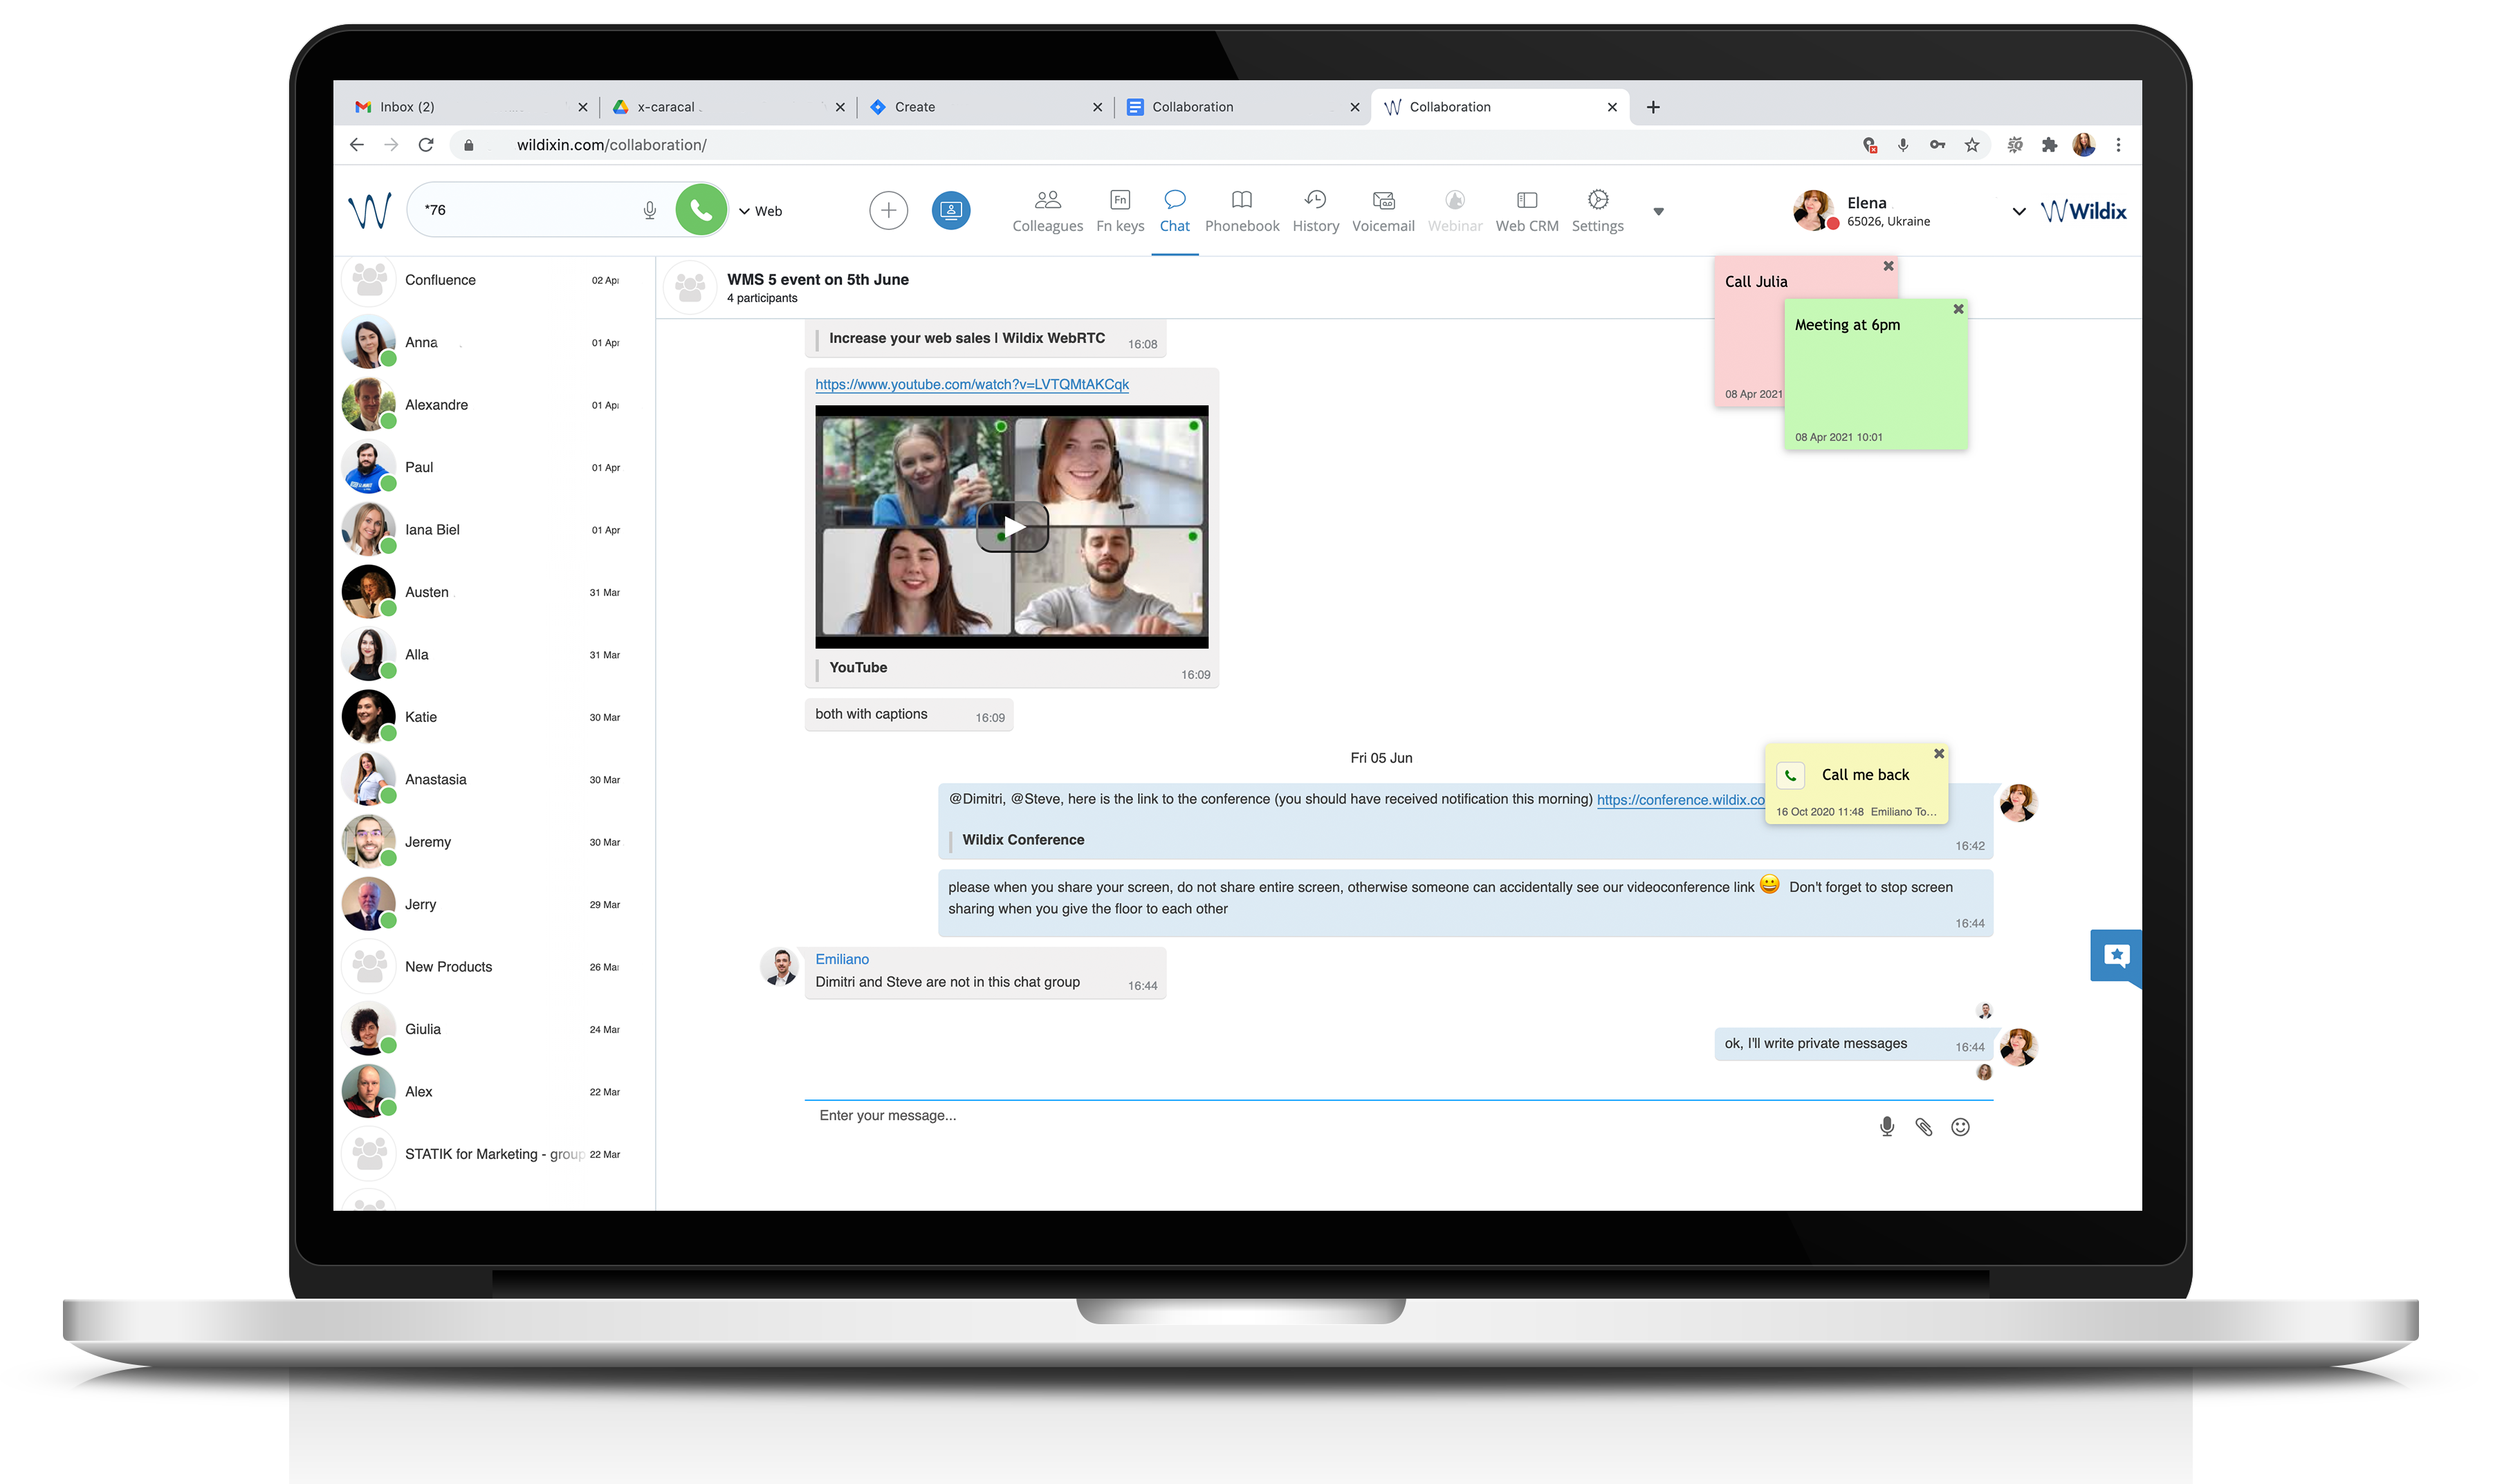
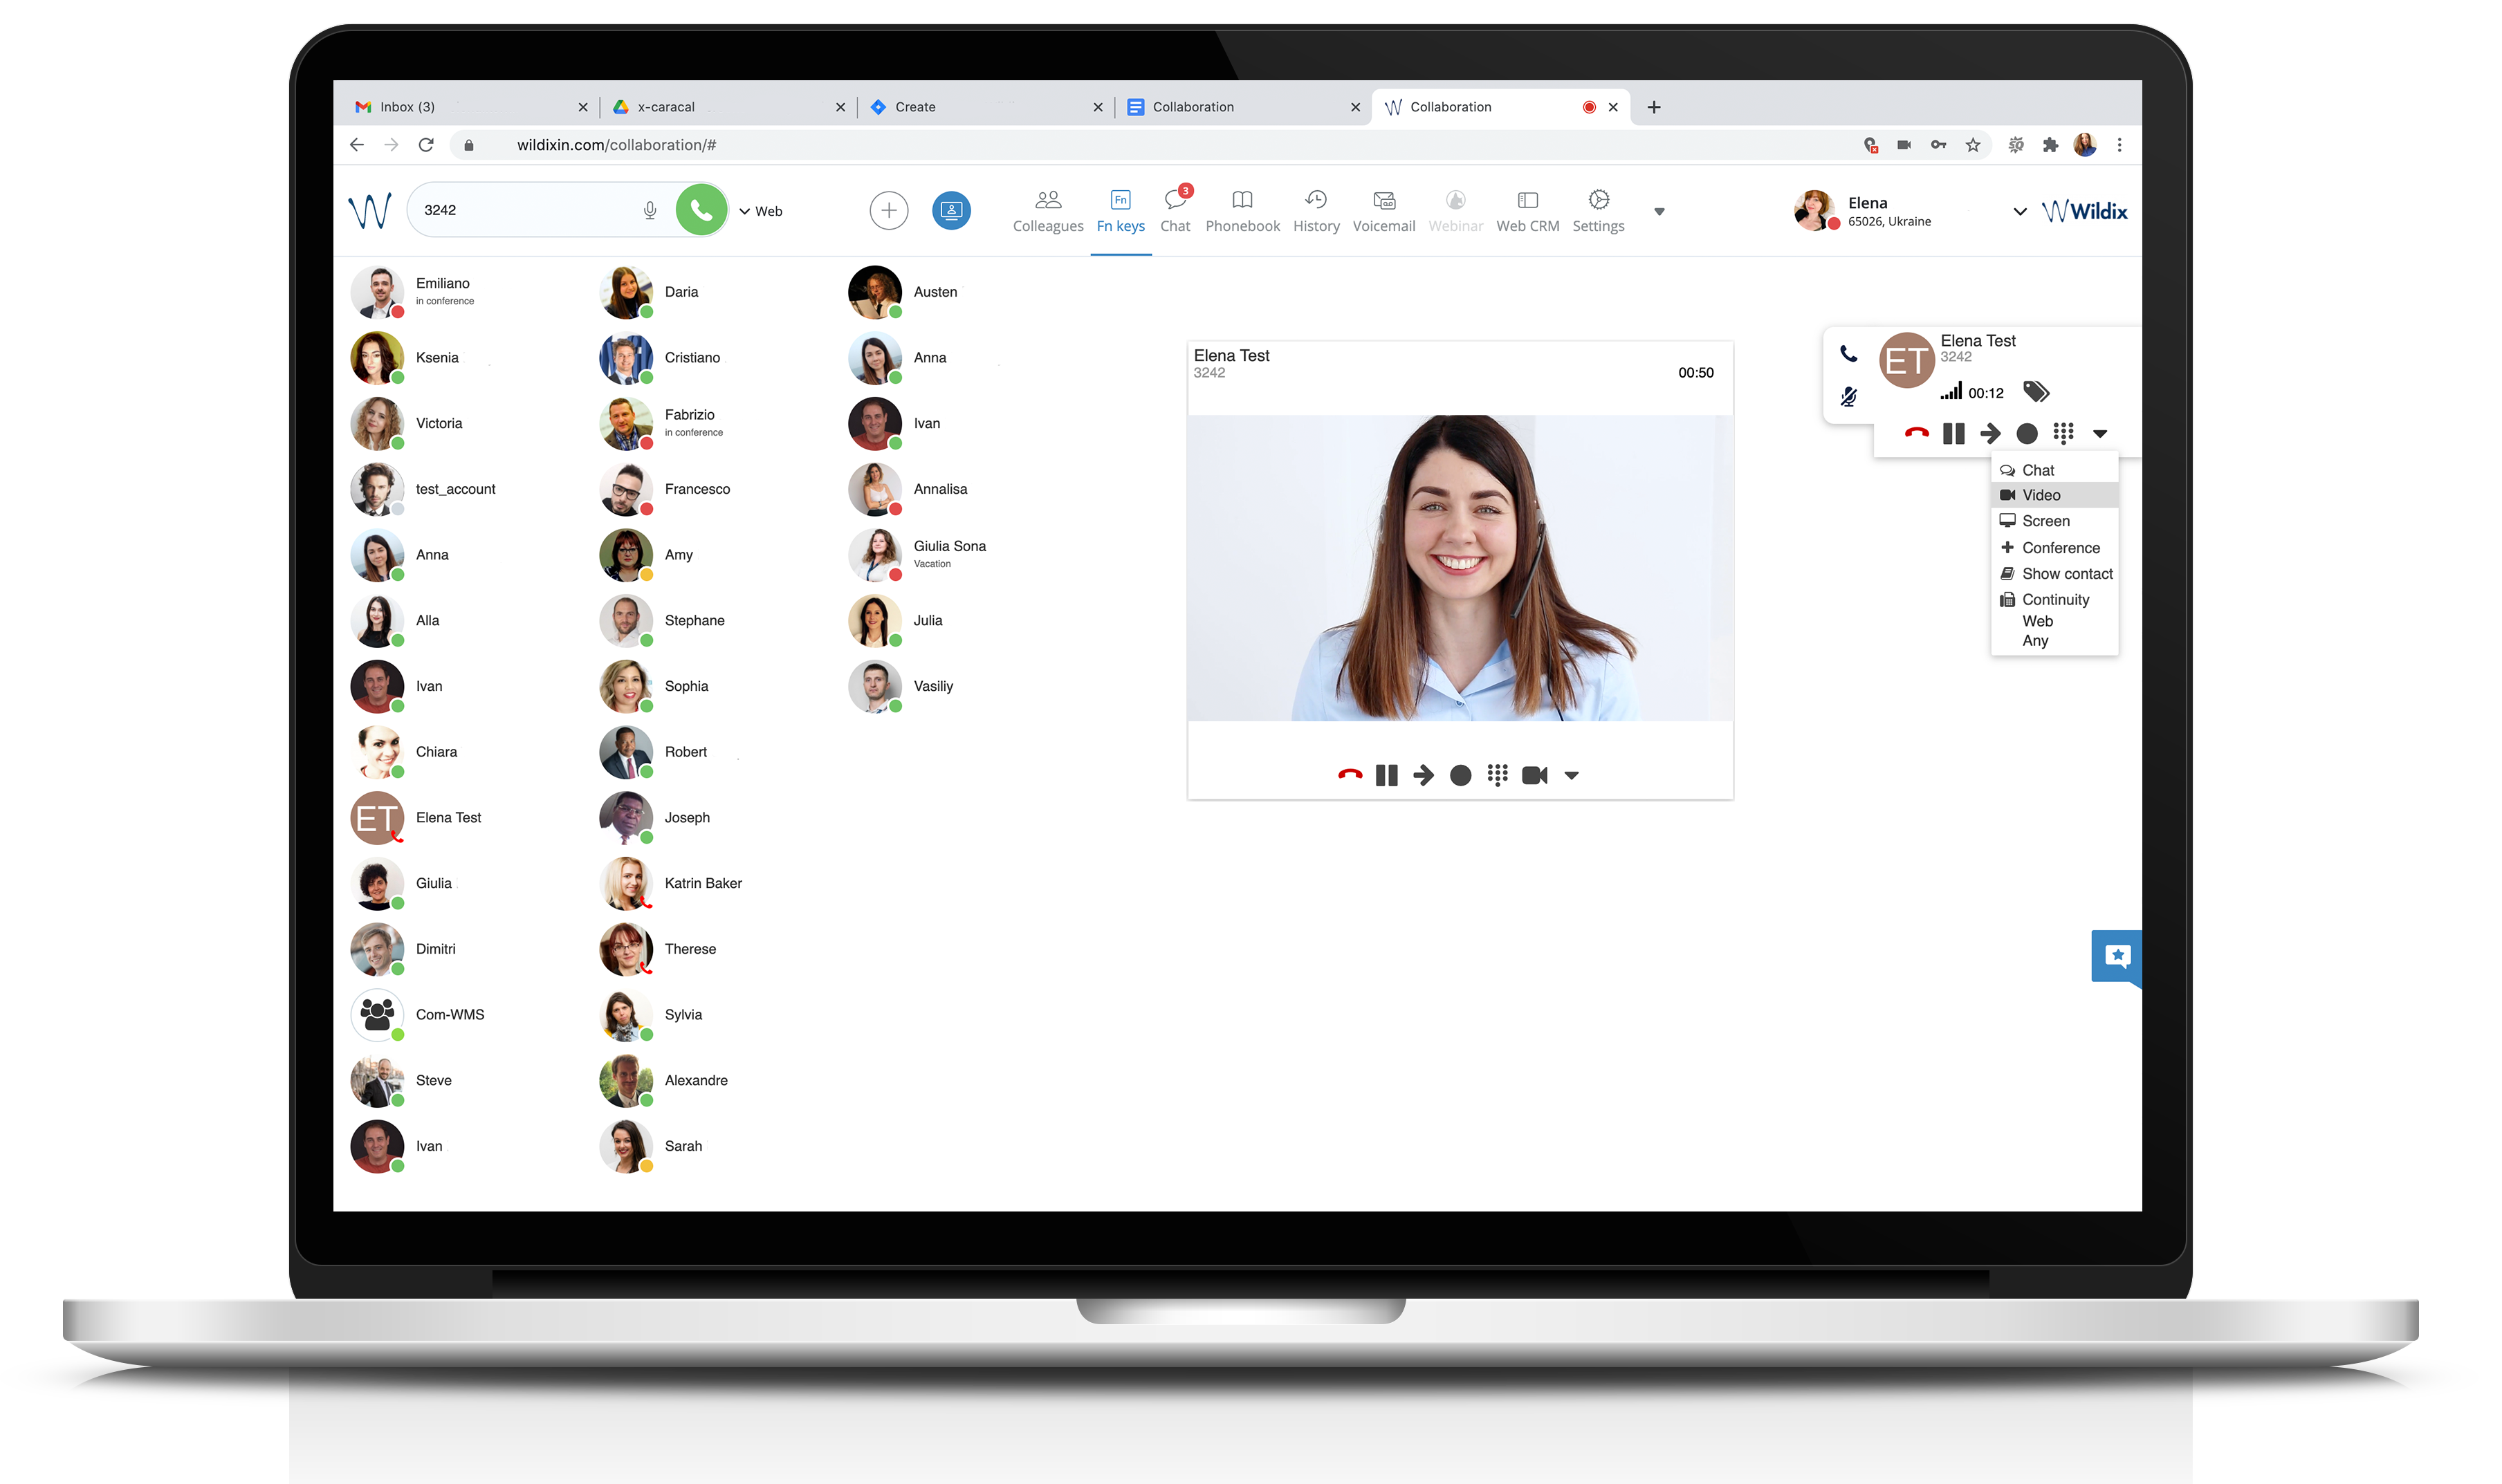
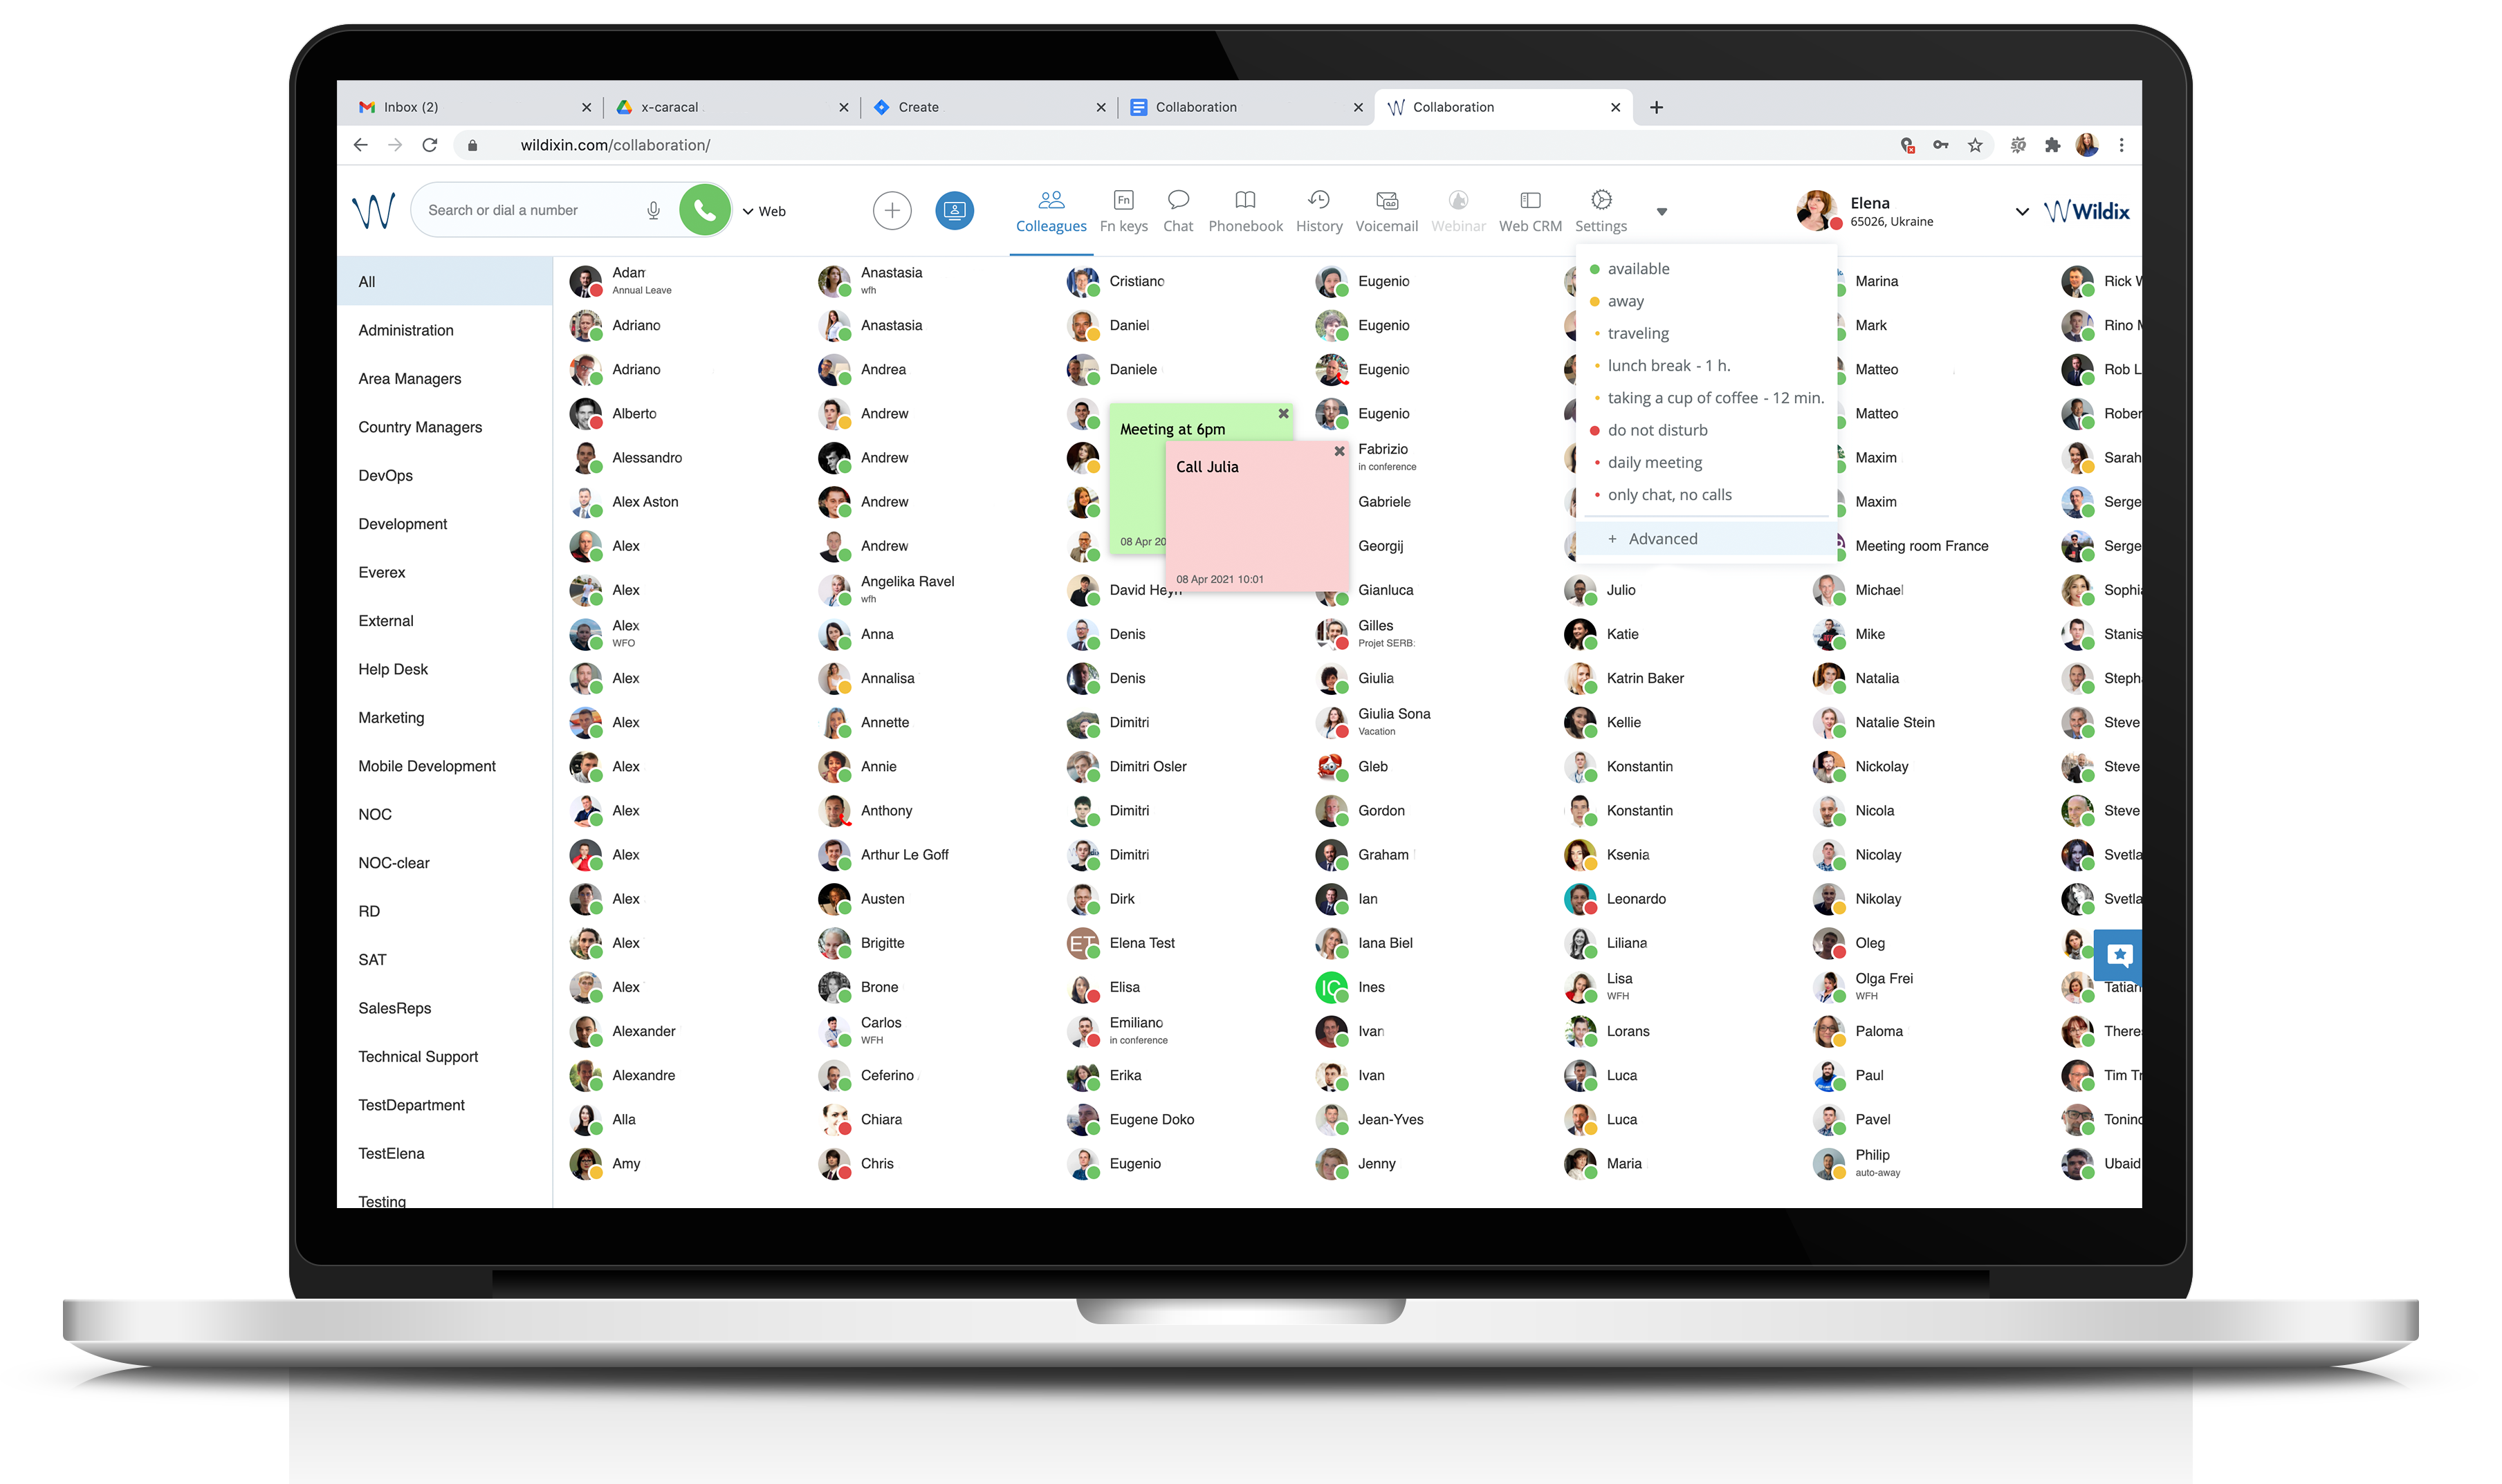
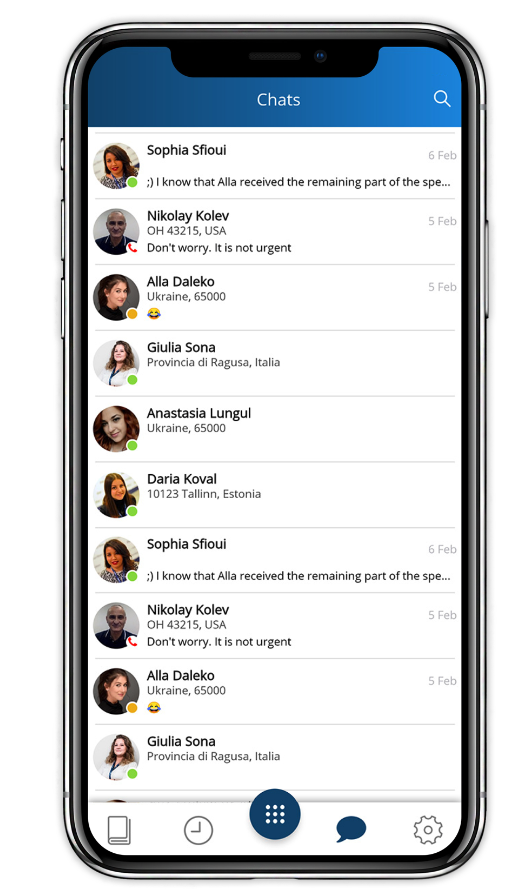
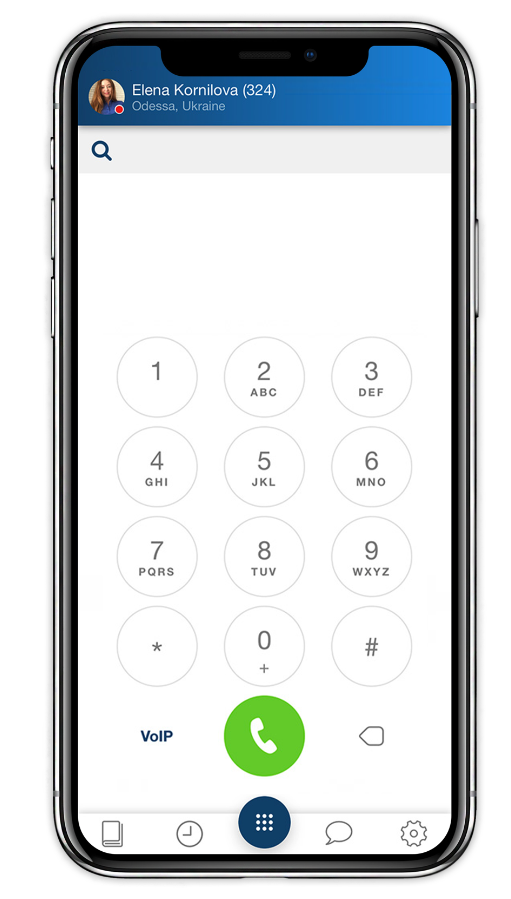
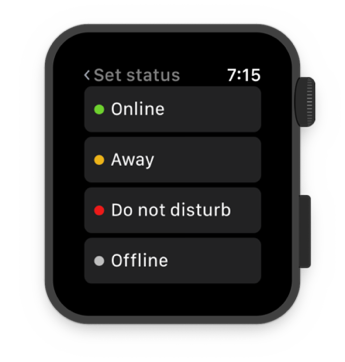
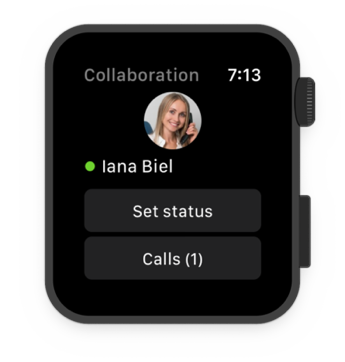
Wildix Collaboration Screenshots
Collaboration Web/Desktop App GUI
Phone Application Experience

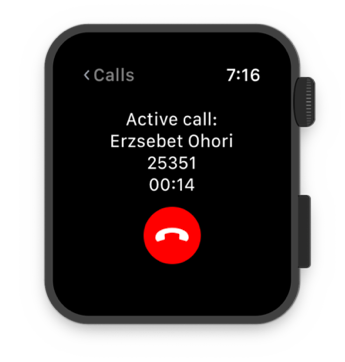
Apple Watch Integration
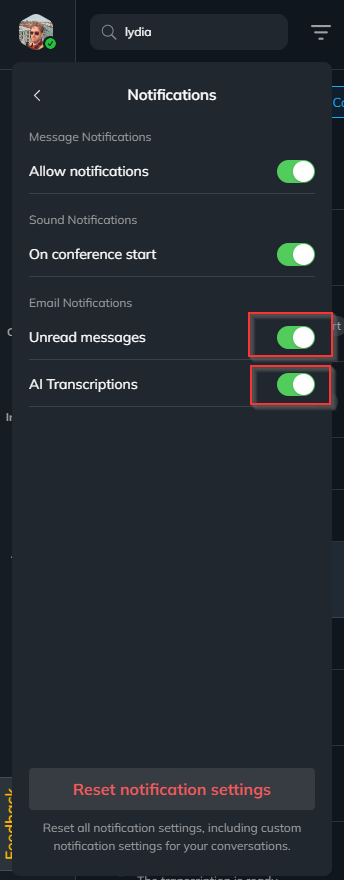
x-Bees Disable Manage email notifications
You can manage which email notification you'd like to receive in x-Bees by following the steps below.
Click your Avatar and then choose notifications in the menu that pops up..
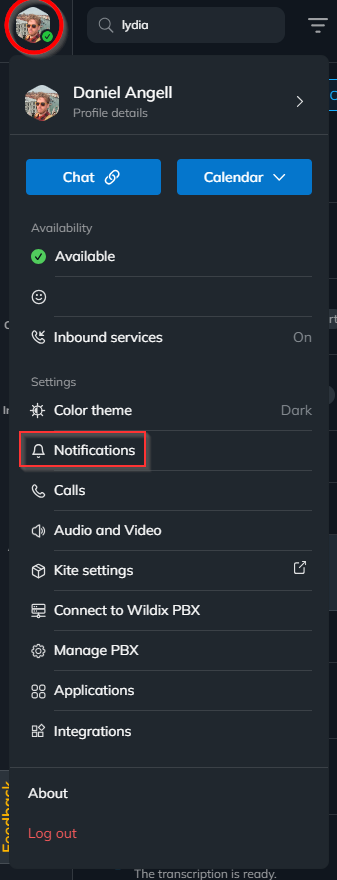
Then in the notification setting area, you can manage which notifications you'd like. This can be notifications of unread messages or also the ability to enable or disable the AI transcription for each call you receive.