Applies to: Wildix x-bees (desktop app and web app)
## Step 1: Open x-bees Open the **x-bees desktop app**, or go to [https://app.x-bees.com](https://app.x-bees.com) in your web browser and sign in. ## Step 2: Go to Your Phonebooks 1. Select **Contacts** from the menu. [](https://wiki.safetynet-it.com/uploads/images/gallery/2026-10/WZeZh8JKMTaQkbeh-image.png) 2. Select **Phonebook**. [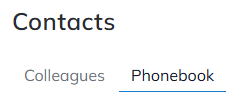](https://wiki.safetynet-it.com/uploads/images/gallery/2026-10/2m7h2GNwVd815rVK-image.png) 3. At the top of the page, use the **drop-down menu** to choose which phonebook you want to work in. [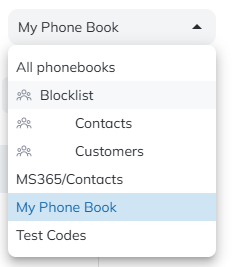](https://wiki.safetynet-it.com/uploads/images/gallery/2026-10/eDjn4dsPrYMyLgwy-image.png)**Shared and personal address books** Phonebooks with an **icon** next to their name are **shared** phonebooks, visible to other people in your organisation. Phonebooks **without an icon** are your **personal** phonebooks. Only you can see these.
## Step 3: Add or Edit a Contact **To add a new contact:** select **New contact**. [](https://wiki.safetynet-it.com/uploads/images/gallery/2026-10/rfGARcG1S9A5wNZx-image.png) **To edit an existing contact:** select the contact from the list, then select the **pencil icon**. [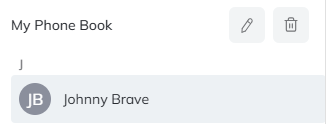](https://wiki.safetynet-it.com/uploads/images/gallery/2026-10/AGTz3vESx7YLhEYo-image.png)If you cannot add or edit a contact, you may not have permission to make changes to that shared phonebook. Please contact the Safetynet IT Service Desk and we will be happy to help.
## Step 4: Enter the Contact's Details Fill in the contact's name and phone number(s). [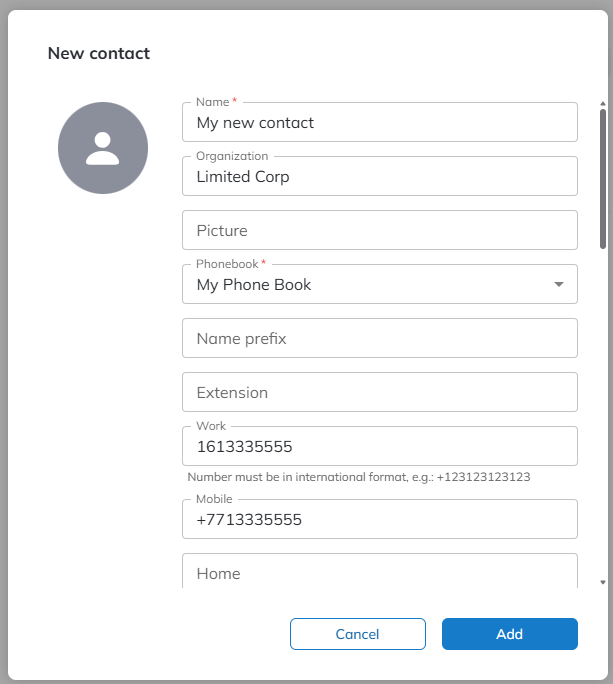](https://wiki.safetynet-it.com/uploads/images/gallery/2026-10/9tPUAFwRO5XdhZuA-image.png) Phone numbers **must** be entered in **international (E.164) format**. This means: - Start with **+44** (the UK country code) - Remove the leading 0 from the number - Do **not** include any spaces, brackets or dashes| Number type | How you might normally write it | How to enter it in x-bees |
|---|---|---|
| Landline | 0161 555 6666 | **+441615556666** |
| Mobile | 07712 345678 | **+447712345678** |
**Need help?** If you have any questions or run into problems, please contact the Safetynet IT Service Desk and a member of the team will be happy to assist.